Introducing - Jekyll Blog Helper (JBH)
One of the things you quickly realize with a static website generator like Jekyll is that there is often no good tools to actually manage your content.
Making a new blog post with Jekyll can be boiled down to 4 steps:
- Create a new post file
- Edit the post content
- (Re)Build the site
- Publish the site to a remote server
I looked around and didn’t see any obvious tools for managing my actual blog posts so I decided to whip up a small shell script to simplify some of these common activities you do when blogging.
Here is how JBH can help you manage your blog.
Step 0: Get JBH From GitHub
You can download the latest version of the script from github.com/AlanBarber/jbh
Just download and copy the jbh.sh file into the base folder of your Jekyll blog website. Open the jbh.sh file in your favorite text editor and you will find several configuration settings at the top where you can setup your remote server for the –publish command to function.
Security Notice:
Make sure to add jbh.sh to your exclude list in the Jekyll _config.yml file. So that the script isn’t copied to your website _site folder where people could possibily see your remote server settings!
	exclude:
	 - jbh.sh
Step 1: Create A New Post
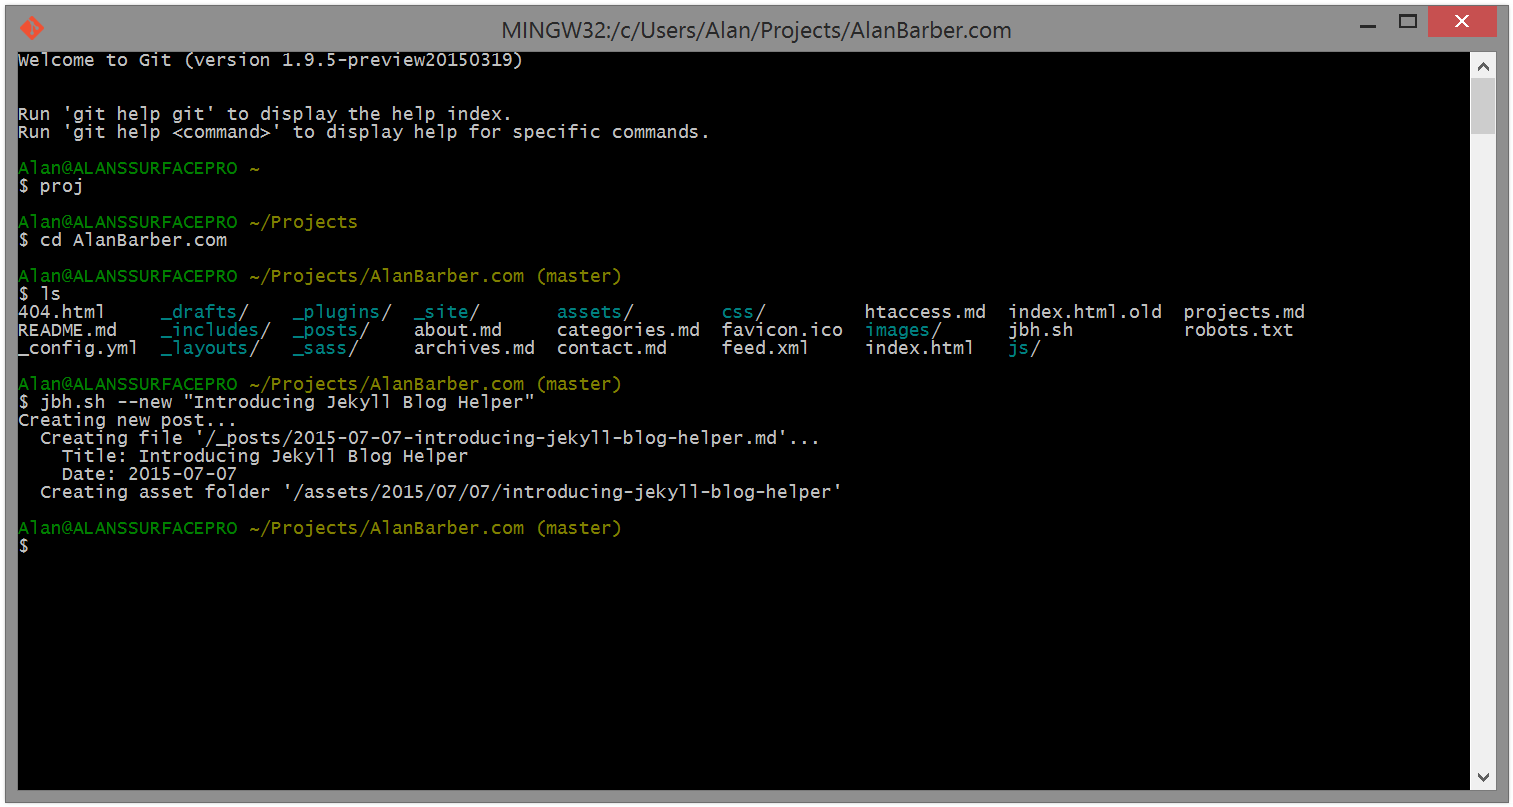
$ jbh.sh --new "Enter Your Post Title Here"
It’s really that easy! Just call the script and give it the title of the new post. The script will create a proper post Jekyll post file that follows the required standard ./_posts/yyyy-mm-dd-title.md
It will also create a coresponding asset folder for you to store any images or files that are part of the post. The folder create will match the post name and date like this ./assets/yyyy/mm/dd/title/
By default JBH will use today’s date when creating a new post. If you would like to use a different date then all you need to do it provide a date after the title like this.
$ jbh.sh --new "Enter Your Post Title Here" "1/1/2015"
JBH also supports draft posts. If you would like to create a draft post you just need to add a –draft parameter before the title like so:
$ jbh.sh --new --draft "Enter Your Post Title Here"
The only difference you will find is that draft posts are placed in the ./_drafts/ folder.

Step 2: Edit Your Post
Editing your post is the hardest part of the process. Use your favorite text or markdown editor and create your content.
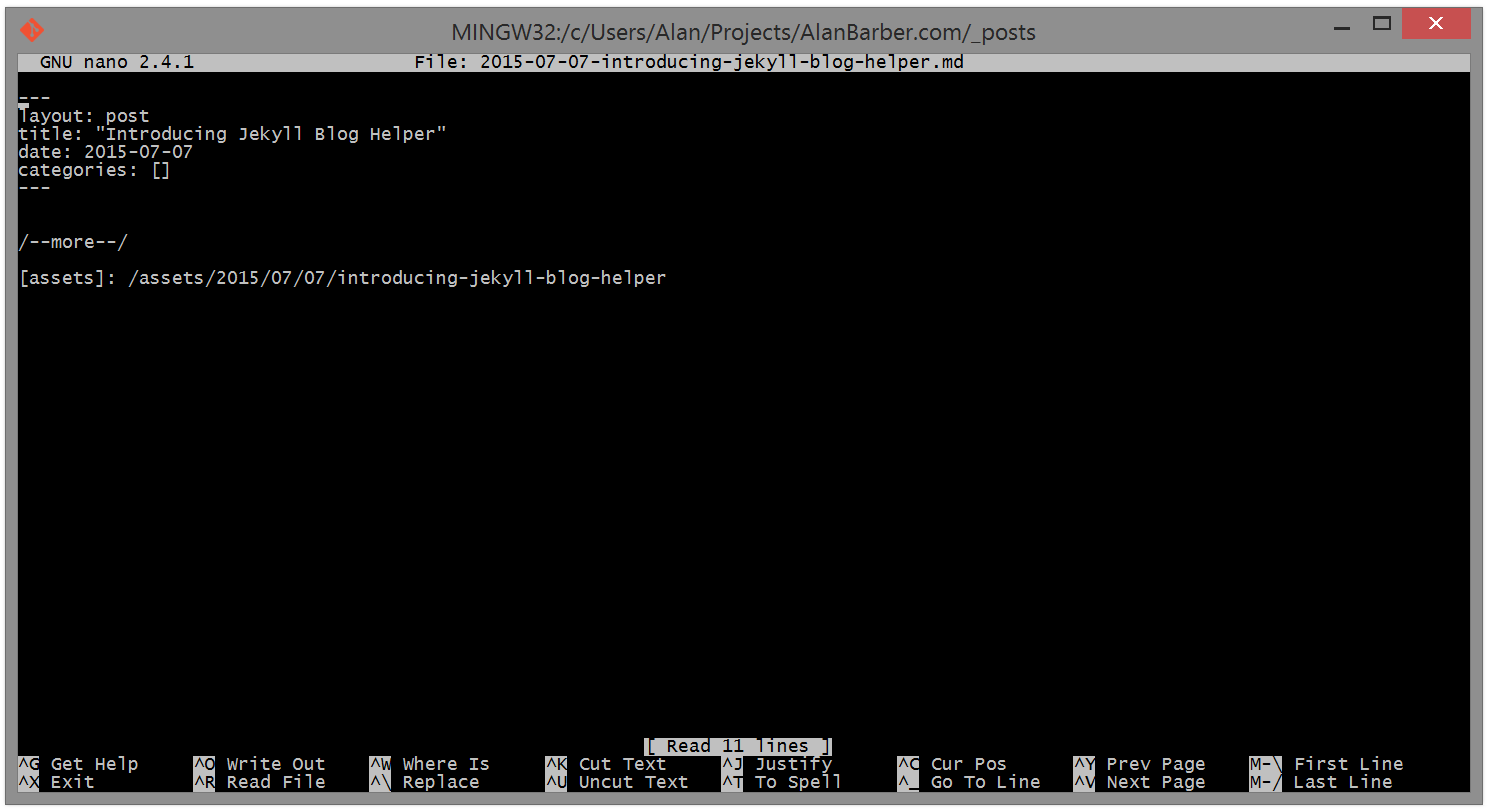
You will find that JBH created the required header for Jekyll to process your post and even added a link to your asset directory for easy reference.

Step 3: (Re)Build Your Site
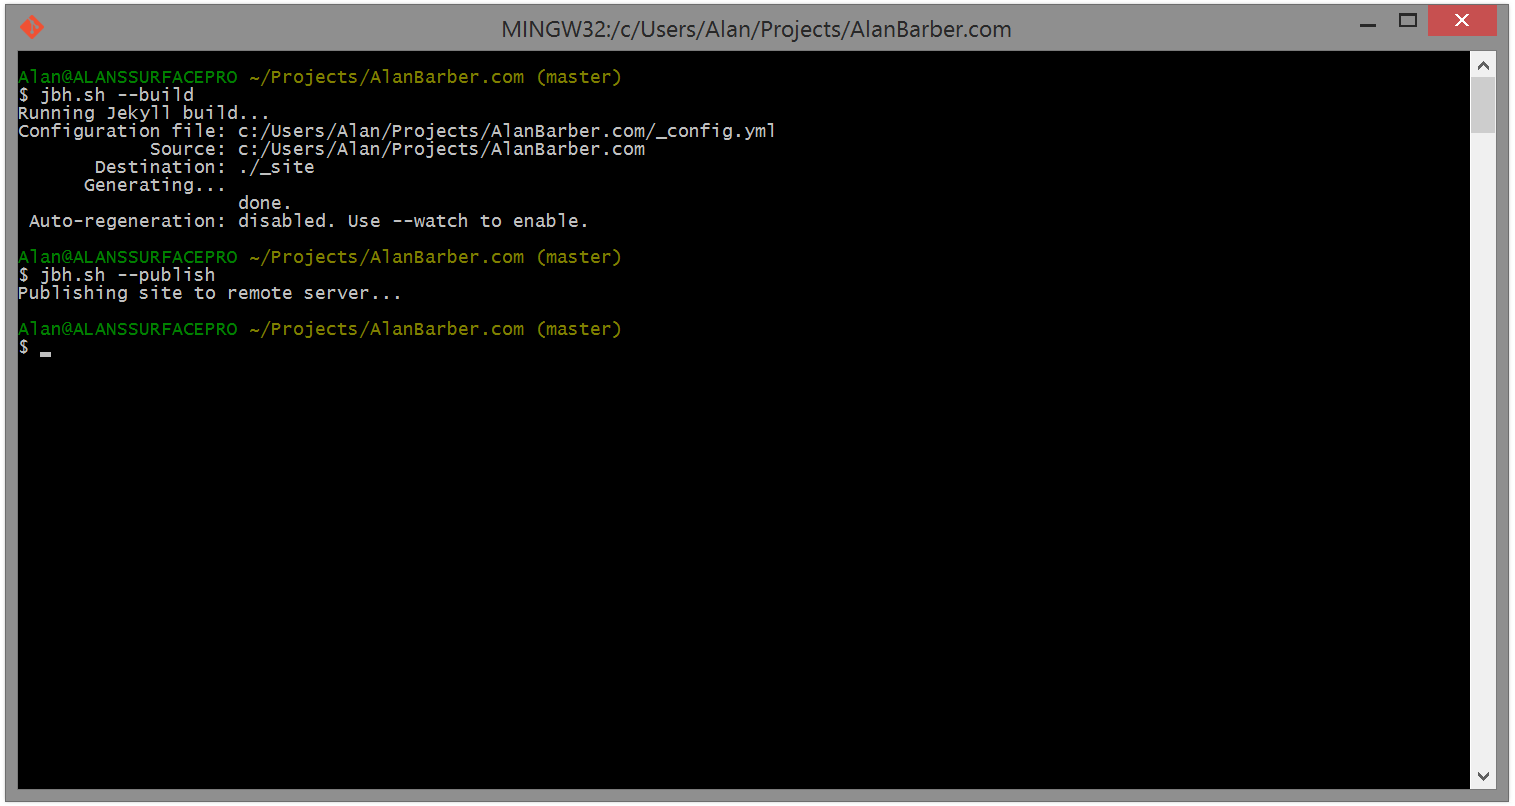
$ jbh.sh --build
This will run the Jekyll build process to generate your site. Remember to do this before you publish or you won’t see your new post!
Step 4: Publish Your Site
$ jbh.sh --publish
Finally you are done and ready to make your new post public. Just run the publish command and your site will be uploaded to your remote web server.
JBH supports both SCP (Secure Copy) and RSYNC (Remote Sync) to copy your site.
Remember to edit the remote server settings at the top of the script first!

Conclusion
There you have it. This is a basic intro to using JBH, it has a few more features but with this tutorial you should be able to get started managing your blog.
For more information, getting help, or reporting bugs please visit the official JBH GitHub page at github.com/AlanBarber/jbh